This is a quick post on No Bake cookies, a classic, something my hubby has been wanting me to make for a while. He remembers his grandma making these when he was young, and I remember my sister used to make these as a teenager.
These would make a nice snack and a great surprise for when the kids come home from school.
These don't take long to make and you have to work fairly fast, so I didn't get any "during" photos (sorry) I was however, practicing with the macro setting on the camera, both my camera and my husbands camera. So I have lots of "after" photos ツ I was wondering,why is it called macro? Instead of micro? My cousin calls it "the flower setting" ツ I've been taking pictures of bugs that are invading my house (outside) and they just don't focus that well when your zoomed in and you cant hold still (•̪●) so my cousin (you know who you are) says "did you have it on the flower setting?" ;•) I did, but I needed a tripod, apparently. Because I couldn't hold still and they all turned out a little fuzzy. So I practice with my husbands camera.(He has a good one!)
Anyways on with the recipe...

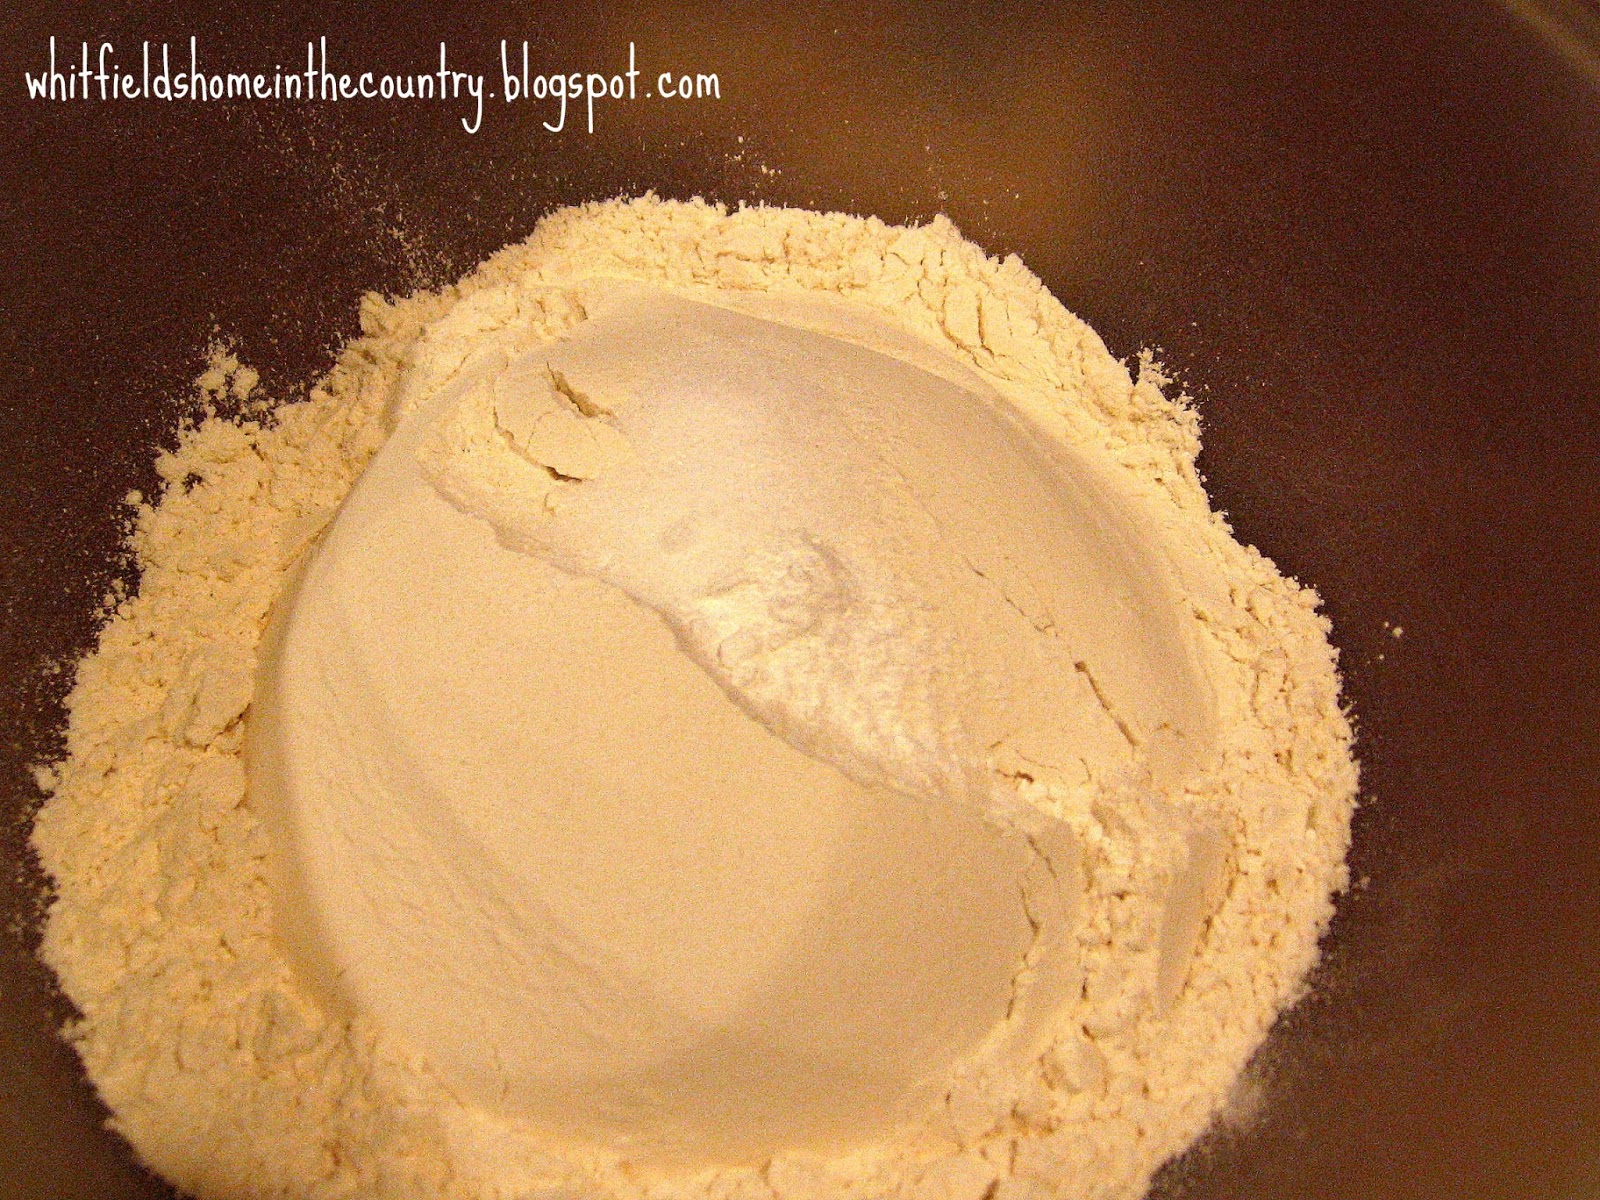
Here is what you need:
1/2 Cup Butter or Margarine
2 Cups Sugar
1/2 Cup Milk
4 Tablespoons Cocoa
1/2 Cup Creamy Peanut Butter
2 Teaspoons Vanilla
3 -3 1/2 Cups dry Quick-Cook Oats (I used 3 1/2 )
Wax Paper
Add the first four ingredients into a medium size sauce pan (around 4-quart )
Bring to a *rolling boil and boil for 1 minute. I use my timer.
Remove from heat.
Add peanut butter into the hot mixture and stir until melted.
Add vanilla.
Mix in the oatmeal and drop by tablespoons onto wax paper.
Let cool until set.
*Rolling boil - boiling vigorously, when stirred it doesn't stir down.
Picture of a rolling boil.
 |
| Photo credit motherwouldknow.com |
I put my wax paper on cookie sheets, that way I can let them cool in a cold oven (I have this paranoia of flies landing on them) and also I can speed up the cooling off by putting them in the refrigerator for a few minutes.

This recipe makes about 24 cookies, depending on how big you make the spoon full. You can double or triple this recipe ...
 |
| Very shiny when they aren't "set" |

 |
| Yum! |
 |
| Choo Choo... next stop, my thighs!! ツ |

These take about a half hour total to make, maybe less and they are oh-so-good!
Enjoy!!