I really like these garden balls, and couldn't wait to try my hand at one! Its a fun project that takes a little patience and time. I got the idea to do these here. I used her outdoor version of these garden balls. I also liked the glass pieces she used but really couldn't find any like that so I purchased stained glass sheets from Hobby Lobby instead. They have something similar to what she used at Michaels (I found, after I got the stained glass) but they are in bags and I didn't feel like I would have enough, plus they are about the same price as the stained glass sheets and I can do a whole lot more garden balls with the stained glass than the glass tiles in the bag. I might get some of the glass tiles, just for accent pieces, probably the purple ones ♥ ツ
 |
| Stained Glass Sheets |
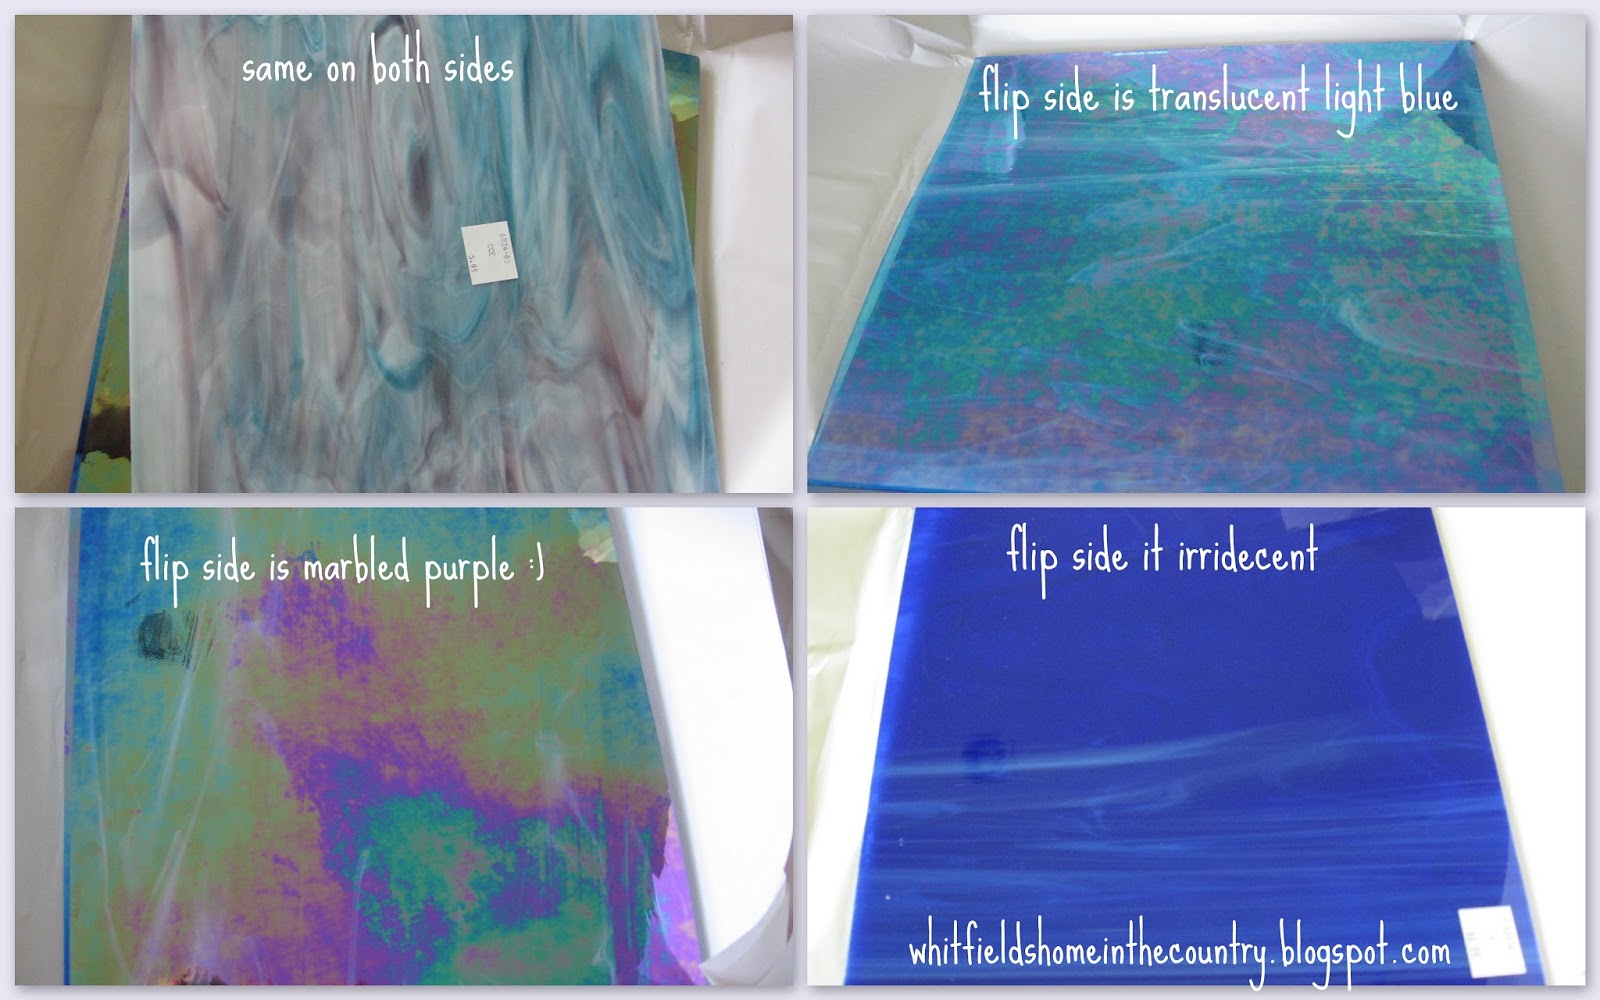 |
| Stained Glass Sheets |
 |
| Styrofoam balls & adhesive |
 |
| Glass cutter, glass pliers/cutter tool & nippers |
 |
| Unsanded grout (black and white) and grout sealer |
.jpg) |
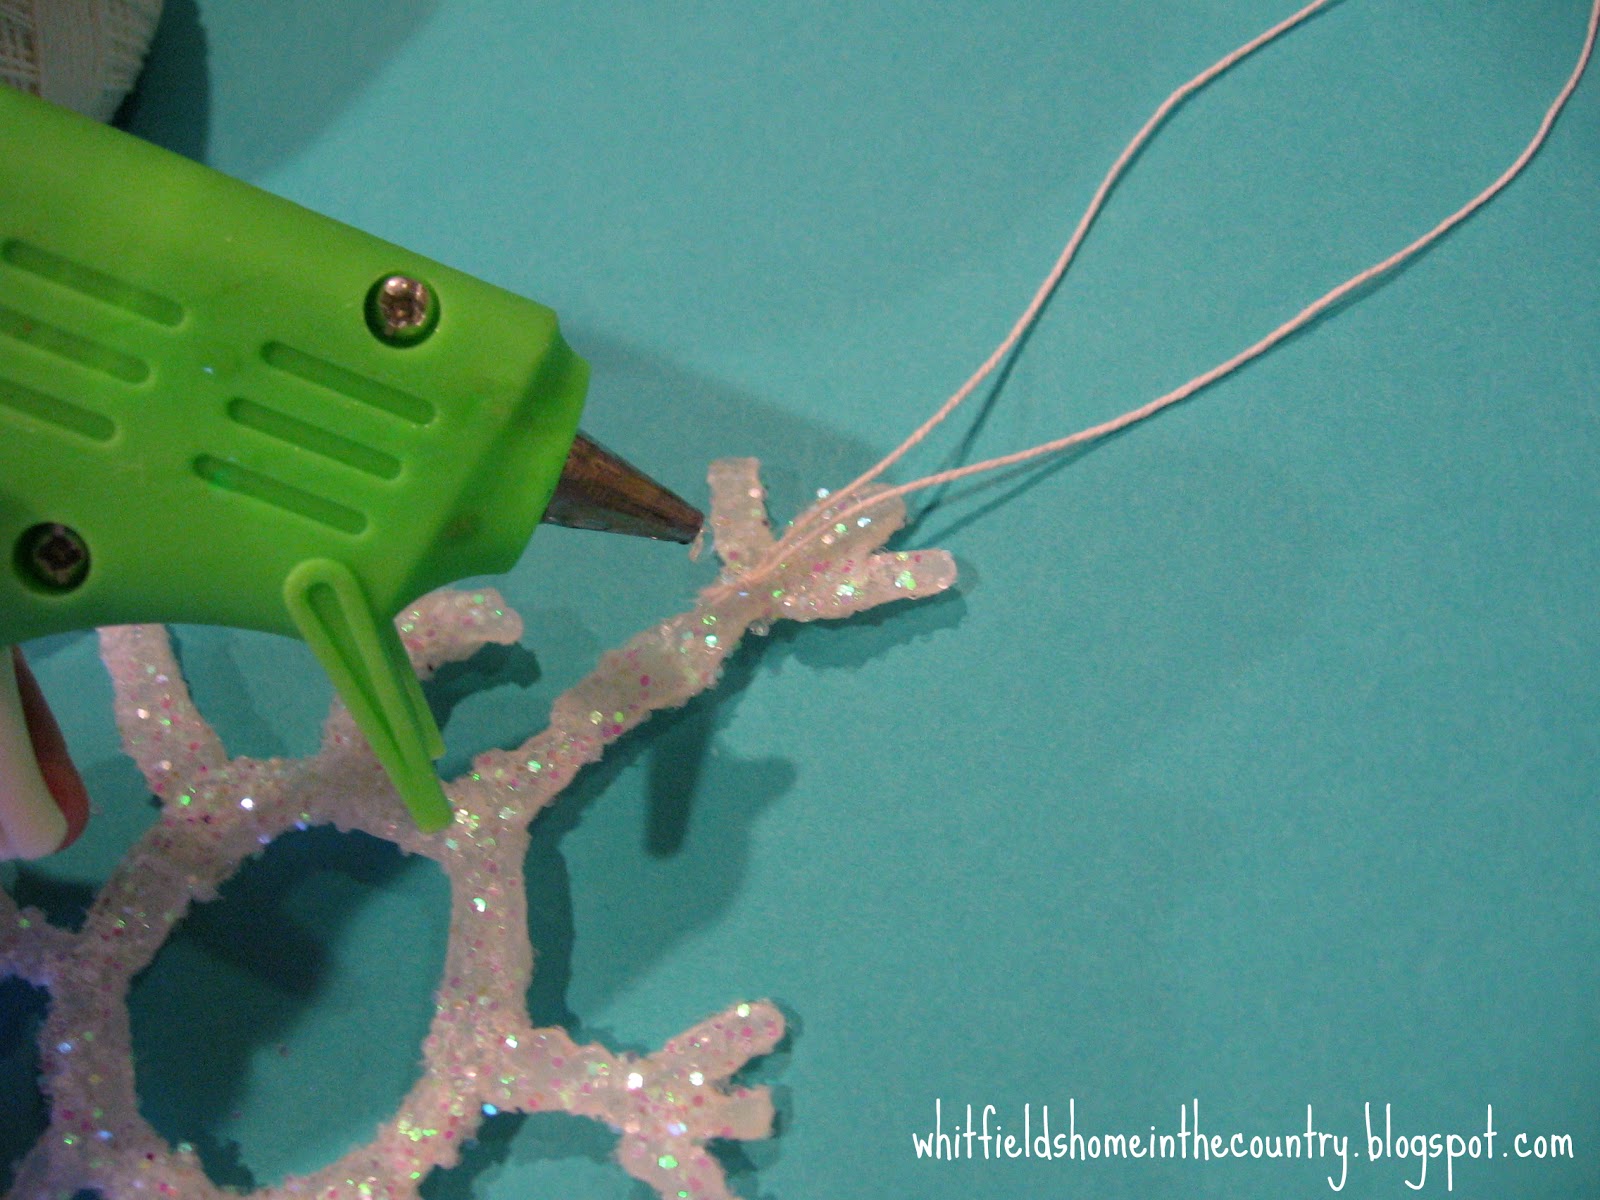
| 12" fishing leader |
.jpg) |
| 12" fishing leader |
Styrofoam Balls/Styrene Balls (I got 3" and 4")
Wire to make a loop to hang
Stained Glass, Glass Half Marbles, or anything else you might want to use!
Adhesive - to glue pieces on to balls
Unsanded Grout
Grout Sealer
Glitter (optional)
Fishing Leader -to hang (optional) The balls are kind of heavy when they are done, I don't want mine crashing to the ground and breaking!
Glass Cutter
Glass Nippers
Safety Glasses (while cutting glass)
If you're using stained glass, cut your glass into strips the width that you would like, for the smaller balls (3") smaller strips and smaller pieces work better. (something I learned....after the 1st one) Even with the bigger balls as well.
 |
| Score the glass ... my hubby's hands :) |
 |
| Use the glass pliers to break it on the score mark |
 |
| Nip the glass into size/shape pieces you want |
 |
| I actually cut these into smaller pieces |
The closer you can glue them together the better.The spaces in between will look bigger once you grout it, so fit your glass as close as you can! Like a puzzle. All different shapes and sizes are good.
If you are going to be using pre-cut glass you're ready to go.
Make a bend in your wire (fig. A) (for the loop) then push it through the styrofoam (Fig. B) leaving a loop at the top to hang it from.. bend the straight side that you pushed through as close to the ball as possible (Fig. C) and push it into the foam (Fig. D) so its not sticking out, and its recessed a little.. You might have to adjust the top loop a little bit, and bend it back down a little more. The bottom shouldn't pop back through once you glue the glass on and grout it.
 |
| (Fig. A) these were about 5-6 inches long, but it depends on the size ball, you may need longer or shorter. You can always cut them shorter. |
 |
| (Fig. B) |
 |
| (Fig. C) |
 |
| (Fig. D) |
 |
| This is how it should look |
Next start gluing on your pieces.. this part takes awhile, it seems like you'll never be done! Just be patient and take your time! I started out using the E6000 glue but ended up using clear caulk. The smell of the E6000 was strong to me, but I am super sensitive to smells anymore, so I switched.

 |
| Towards the bottom of this one I learned to glue them as close together as possible. |
Once you have finished gluing all the space let it dry according to the directions on your adhesive. I let mine dry for 24 hrs. before I used the grout.
Mix grout according to the directions (about the consistency of Peanut Butter)

I put the grout in a ziplock bag and I piped it in ( like frosting )


Once I got all the spaces covered with grout, I gently worked it in making sure all the gaps were filled. (I say gently because it is glass, and it can cut you even through the gloves, trust me.)
I couldn't take a picture of that step because my hands were full of grout. ツ
After I got all the gaps filled I went back and tried to wipe most of the grout off of the glass pieces, the directions on the grout said to let it sit for 30 min., then use the sponge to wipe it down, so I didn't want ALL that to dry on there, it would be more time consuming to try to get it off.
After the 30 min. I wiped it down as much as possible without taking all the grout out between. (Its not smooth like a backsplash would be, some pieces stick up more than others)
This is the step where I put the glitter on, while the grout is still damp. I sprinkled it on and pressed gently with my finger to set it in the grout.
 |
| I used Iridescent glitter since my glass was also Iridescent |
My grout sealer directions said to wait 24 hours and to make sure its clean and dry. We waited several days (that is when he had time) because he wanted to show me how to do it first. He made sure to get the grout thoroughly, mine are going outside so I wanted it sealed good! He took a rag cloth (clean t-shirt) and gently wiped any drips from the glass. Let it dry for amout of time on the directions. Clip the fishing leader on, and hang. Mine are going on the porch you see in the picture below, once I make more, I'll probably hang them in my Crepe Myrtle you see in the background on the left.

 |
| My fav! |
 |
| ♥ |


My first one (the cobalt blue one) was total practice, its not the best one but I still like it! The 2nd one (pink and blue) is a lot better but I was still learning. I really like the 3rd (Iridescent one) (so far) the best. I really like the glitter in the grout! ツ
This was fun! I'm making more! I see Christmas presents in the future. Shhhhh... ;)
Have any questions? Or something doesn't make sense. Make a comment below or email me, I'll be happy to help any way I can!