Blogger Widgets

Thursday, February 7, 2013

Sugar Cookie Squares


Just in time for Valentines Day....
If you have a sweetie, that loves sweets, then make these Sugar Cookie Squares for them (Or for yourself)   They are much simpler than cut outs, and you don't have to frost them individually! How simple is that?
These cookies are like the ones you see in the store, you know the ones, there are about 8 round, colorful, frosted and sprinkled cookies in the little clear plastic container....and they cost about 4 bucks!  So, If you like those cookies, you will LOVE these!!  I found the recipe on Pinterest (of coarse) and you can find the link to the original site here

These are thick, soft and moist and will definitely satisfy any sweet tooth you may have..

I made a couple batches at Christmas and gave them out as gifts, needless to say, they were a hit!
I'll have pictures of those at the end of this post. 
So these cookie squares aren't just for holidays, they are perfect for any occasion, classroom treats or bake sales, baby showers, parties etc...


Here is what you need:

1/2 cup Butter, softened
1 cup Granulated Sugar
1 Egg
1 Egg white
1  Tbsp Sour Cream 
1 tsp Vanilla 
2 1/2 Cups All-Purpose Flour
1/2 tsp Baking Powder
1/2 tsp Salt


Preheat oven to 375 degrees. Butter a 13" x 9" pan, set it aside.
In a  bowl combine flour, baking powder and salt, set it aside. 
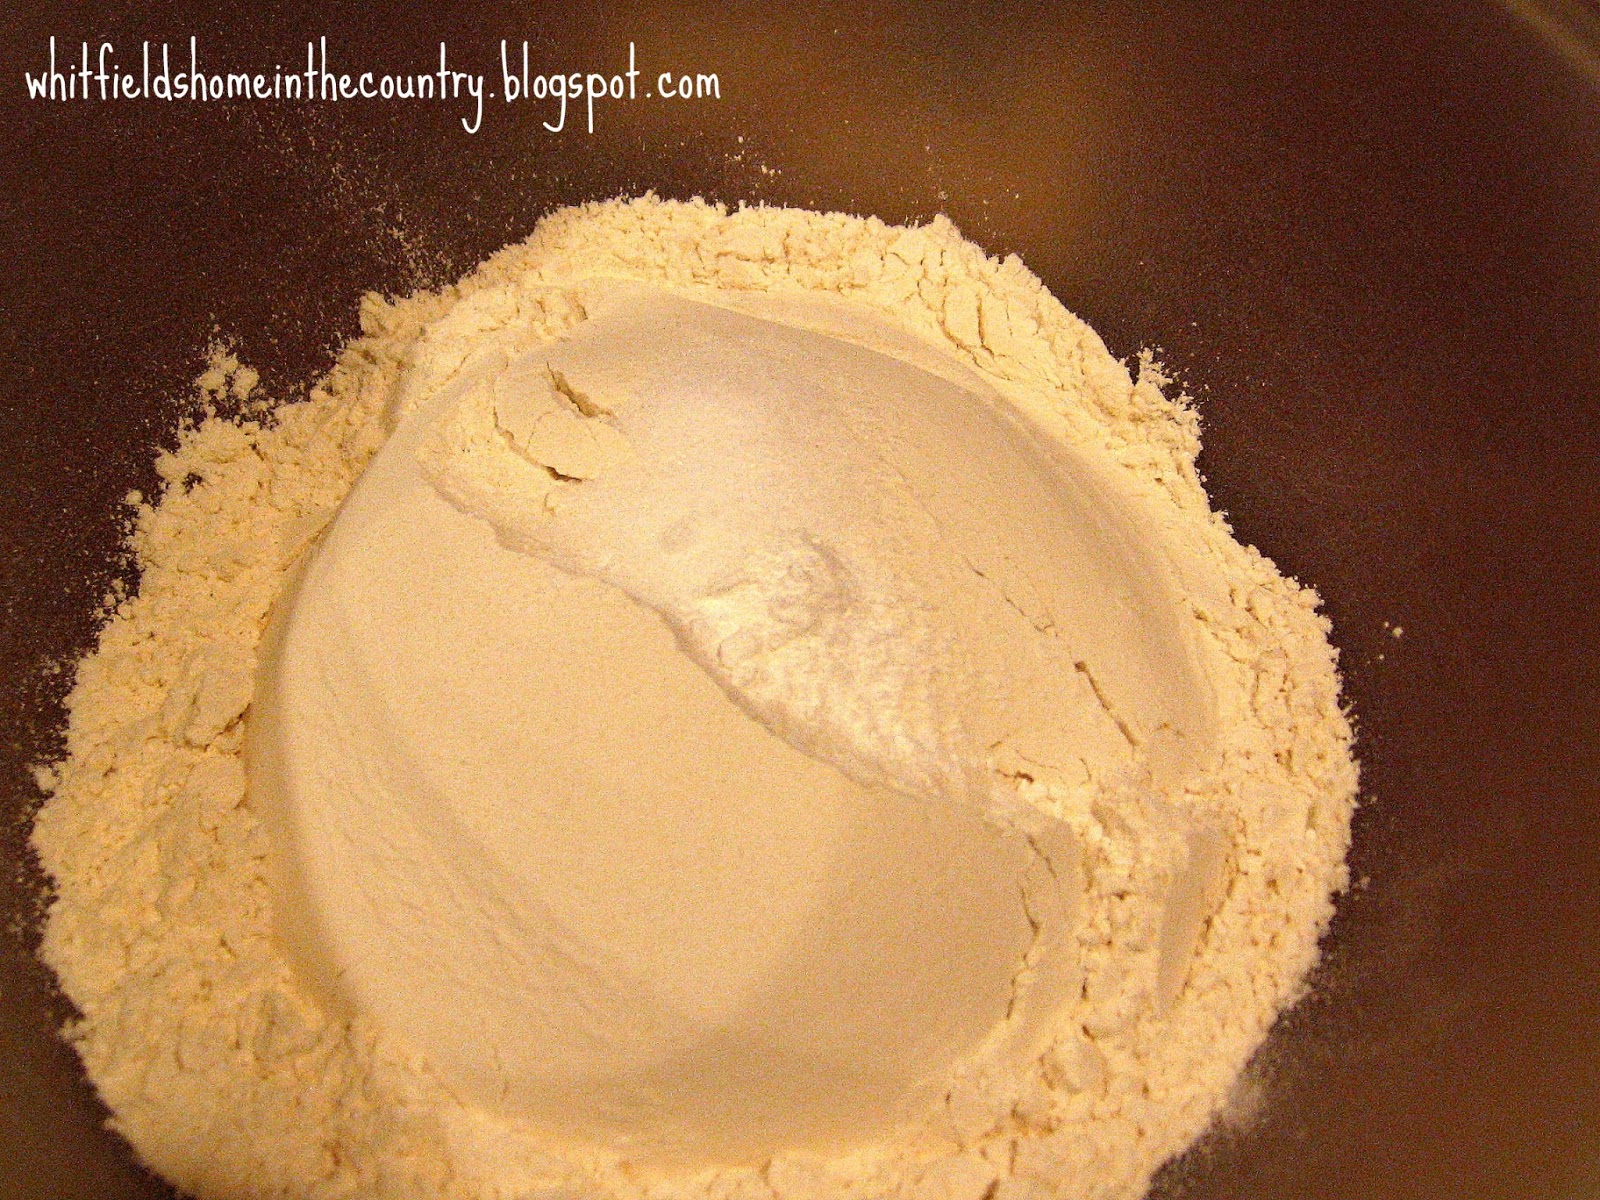


In the bowl, whip together with a mixer, butter and sugar until fluffy about 3-4 minutes. 


Stir in egg and egg white. Add sour cream and vanilla and mix until blended. 


Slowly add dry mixture and stir until well combine. 


With buttered hands, gently pat mixture into buttered 13x9 pan. 


Bake 17 - 20 minutes until toothpick inserted into the center comes out clean and edges are lightly golden.
Cool completely,
Frost. (Vanilla Frosting Following)


Vanilla Frosting:


Here is what you need:


1/4 cup Unsalted Butter, softened
2 Cups Powdered Sugar
2-3 Tbsp Half and Half
1/2 tsp Vanilla
Pinch of Salt
Sprinkles
desired amount Food Coloring 


In a  bowl, using an electric mixer, whip together butter and powdered sugar and half and half until fluffy. 


Stir in vanilla and salt. 


Once its well mixed, At this point, I spooned out about 2 Tablespoons of the white frosting and put it in a sandwich baggie (I don't have a frosting bag) to pipe the lines on.


Add desired amount of food coloring and mix until well blended. (I used about a 1/4 inch line of the gel food coloring)


I think these are to cute to eat!!   Just kidding   Yum!
Enjoy your cookies...

Here are the ones I made for Christmas ( I know they aren't really Christmas colors, but what can I say.)


I just have to take a minute and brag on my husband... 
I needed a mixer, and things were tight at Christmas, so he bought me a cheap hand mixer from the dollar store to use. Well, the mixer kept falling over, and would not stand up!! Especially if there was something on the beaters Grrrr!
So, I complained  
¯\(°_o)/¯ Lol ...so he made me a stand out of pvc to hold my mixer. Thank You Honey!


He is so good!! 

♥║║
╚══╝


Wednesday, February 6, 2013

Making Art with Foil & Shoe Polish


I saw this project on Pinterest and wanted to try it. I thought it looked kind of like the old tin ceiling tiles. Sort of...
I made several of them  ツ   I thought it was fun!
The original post is here but I also used this one, for reference also.


 You want to use either a coloring page (one that doesn't have to much detail as its really hard to make the glue stay in the lines sometimes) or you can make a freehand drawing or design. You can draw your design on paper and do a transfer method to your cardboard if you don't want the cut out lines.(more about cut out lines later)

This would be a good craft to do with an older child on a rainy/snowy day, or any day for that matter! 


Here is what you need:

Cardboard
Foil (any kind)
Glue stick
Aleene's Tacky Glue
Liquid Black Shoe Polish (the kind with the sponge)
Dull Pencil (with soft eraser)
Q-tips
Paper Towel or Soft Rag

First draw/glue your design on the cardboard (I used cereal boxes for my cardboard) any kind of cardboard will work, except corrugated, it has lines that will show through, if you want the lines as part of your design that's okay, by all means use the corrugated. ツ 

I glued my paper right to the cardboard but be aware the the paper cut out line will show through (on the giraffe, I incorporated that right into my design) I cut it out in a wavy line and used the tacky glue to "draw" my outline. I also did it on my dream catcher (below) and left it how it was, I didn't use glue to outline. 


You can see my wavy cut out line (plus I made it more prominent by using the Q-tip & eraser, I'll incorporate it into my design later) You won't see the eraser lines either, when its finished!
I'll post a completed picture when I'm done. I'm also doing a Ying-Yang design for my hubby ♥♥ for Valentines day ...shhhhh  ツ  I'll post that one after Valentines Day.

♥║║
╚══╝


See my wavy cut out line?

Trace your design with the tacky glue, be patient and take your time...

Giraffe
My Freehand design - Sun Moon & Stars
Once your done "drawing" your design with glue, let it dry thoroughly.

 Once its dry, tear off a piece of foil a few inches longer than your cardboard, so it can wrap around the back of the cardboard.
With your glue stick, glue either the foil or the design make sure to go over the whole thing, so it sticks good (I did both )
Gently press down on the foil with your hand and fingers to make it stick to the cardboard. I used a Q-Tip and a eraser to outline the glue lines (See below)  don't press hard or it will poke through the foil! 

This is part of my dream catcher - using Q-tip, eraser and very lightly traced glue lines with a pencil.
I also used the dull pencil to trace the glue lines, be very gentle if you decide to do that too.

Once you are done with that step, with the dull pencil start drawing the detail and also filling the blank spaces with some designs... I tried to think of little designs that went with the picture. For example, my Bama one, I used football's and A's and filled in the rest with misc. designs and letters. You can use anything you want.


When you feel you have covered the picture with enough detail, using the shoe polish, go over the whole thing, let it sit several minutes then wipe it off with the paper towel or rag. Make sure not to wipe so hard it wipes all the polish from the design indentations. I kind of liked the look with a little still left on there (not totally wiped off )but you can wipe as much or as little as you like.
When your satisfied with how it looks, let it dry. It will scratch off easily, if it's not completely dry. Once its dry, then it doesn't come off so easy.

Tip:
* Regular Elmer's glue wont work, it spreads out to much and gets flat.
* You can use any kind of foil but I would recommend using the heavy duty, as its stronger and the thin stuff will poke holes to easily!* You might want to "draw" your design with the glue the night before so it can dry over night.

Bama
Giraffe
Sun, Moon & Stars


**Update - here is my dream catcher that I said I would post when I was finished...


Most of all..... just have fun, be creative!!


Monday, January 7, 2013

Homemade Sanitizing Wipes


I have been sick literally for over a month now, since just after Thanksgiving! And everyone is getting sick in the house, and I'm tired of it!!! So I did some research and saw a few different  recipes for "Homemade Clorox Wipes"  and they didn't even have Clorox in them LOL!
I saw some with vinegar, I saw some with actual Clorox though, and a few with different ingredients in them, but settled on this recipe. I didn't really like the idea of putting my bare hands on the actual Clorox ones because it seemed to me like it was a really strong solution to water ratio, no thanks. I felt this recipe with the Alcohol would work just fine for my purpose! I used paper towels because I really didn't have a whole lot of rags to use.
In hindsight I will use about 1/2 tablespoon of Dawn when adding the ammonia (makes it to sudsy) If you choose to omit the ammonia then use the two tablespoons of Dawn, or adjust it as you see fit otherwise 1/2 tablespoon should do the trick . But you can experiment to see what you like. :)


(optional) but I used it! 
Here is what you need:

1 Cup of Water
1/4 Cup of Alcohol
2 Tablespoons of Dawn dish soap (only use Dawn)
2 Tablespoons of Ammonia (optional)
Container to store them in

Mix Water, Alcohol, Dawn, and Ammonia (if your using ammonia)
I used the other half of my Viva paper towels from my Baby Wipes recipe
I unrolled about half of the roll and layered it accordion style (see picture below) I didn't tear them apart I left them together.


If you have rags you can use those if you want and just wash and reuse them!

Place your paper towels (or rags) in the container and pour mixture over the paper towels. I let them sit about 10 min., then flipped the whole stack over the other way, to make sure they were saturated completely.


I'm going to have to play with this recipe or maybe make a whole new one? (I know Alcohol doesn't kill everything!) We'll see... until then.... these will  have to do.


I labeled my container so it wouldn't be mistaken for the Baby Wipes...that would be bad! Although they are in two different looking containers, still, Ouch!  lol


Maybe I'll get better soon  (-’_'-) ....


Tuesday, January 1, 2013

HAPPY NEW YEAR!! 2013


Happy New Year!!

My Wish For This New Year ... 

May The Rising Sun Fill Your Day with Love, Light && Hope. 

May You Have Happiness and Good Fortune for this New Year. 


║║
╚══╝


Total Pageviews

Related Posts Plugin for WordPress, Blogger...