Blogger Widgets
Showing posts with label Milk. Show all posts

Thursday, September 19, 2013

No-Bake Chocolate Oatmeal Cookies


This is a quick post on No Bake cookies, a classic, something my hubby has been wanting me to make for a while. He remembers his grandma making these when he was young, and I remember my sister used to make these as a teenager.
These would make a nice snack and a great surprise for when the kids come home from school.
These don't take long to make and you have to work fairly fast, so I didn't get any "during" photos (sorry) I was however, practicing with the macro setting on the camera, both my camera and my husbands camera. So I have lots of "after" photos    I was wondering,why is it called macro? Instead of micro? My cousin calls it "the flower setting"     I've been taking pictures of bugs that are invading my house (outside) and they just don't focus that well when your zoomed in and you cant hold still 
(•̪●) so my cousin (you know who you are) says "did you have it on the flower setting?" ;•)  I did, but I needed a tripod, apparently. Because I couldn't hold still and they all turned out a little fuzzy. So I practice with my husbands camera.(He has a good one!)

Anyways on with the recipe...


Here is what you need:


1/2 Cup Butter or Margarine
2 Cups Sugar
1/2 Cup Milk
4 Tablespoons Cocoa
1/2 Cup Creamy Peanut Butter 
2 Teaspoons Vanilla
3 -3 1/2 Cups dry Quick-Cook Oats (I used 3 1/2 )
Wax Paper

Add the first four ingredients into a medium size sauce pan (around 4-quart ) 
Bring to a *rolling boil and boil for 1 minute. I use my timer.
Remove from heat.
Add peanut butter into the hot mixture and stir until melted.
Add vanilla. 
Mix in the oatmeal and drop by tablespoons onto wax paper.
Let cool until set. 


*Rolling boil  - boiling vigorously, when stirred it doesn't stir down.
Picture of a rolling boil.
Photo credit motherwouldknow.com


I put my wax paper on cookie sheets, that way I can let them cool in a cold oven (I have this paranoia of flies landing on them) and also I can speed up the cooling off by putting them in the refrigerator for a few minutes.


This recipe makes about 24 cookies, depending on how big you make the spoon full. You can double or triple this recipe ...


Very shiny when they aren't "set" 


Yum!
Choo Choo... next stop, my thighs!!    


These take about a half hour total to make, maybe less and they are oh-so-good!

Enjoy!!


Wednesday, May 23, 2012

Cool Whip-Pudding Frosting


I finally had an excuse to try out this frosting, then I ended up having to make something else  (×̯×)  It seems like I've been waiting for months years to make this! lol
We always seem to have a sweet tooth in the evening and it seems like we never have anything to satisfy it (of coarse) so I said what the heck, I'm going to make a cake! (•̮̮̃•̃) I don't need an excuse to make a cake! Right!?¿

Since this frosting is made from Cool Whip and requires milk in the Pudding, I would think it needs to be refrigerated. Problem is, we don't like our cake cold... Hmmmm (thinking) 1st thought.. We could just cut a couple slices and sit it on the counter to warm up for 10-15 min. before we eat it...
Nah that takes to long!...   I know!  2nd thought ...We'll just leave the cake on the counter and the frosting in the fridge and frost as we go (-̮̮̃-̃)   Brilliant idea!! lol 
That way, you can put as much on as you want, or as little as you want, and if you use it all up before the cake is gone, then I guess you'll have to make some more! (º.º)
Kind of like "If you give a Mouse a Cookie"
 ♥║║
╚══╝


Here is what you need:

8oz tub Cool Whip (thawed)
Small Box (3.4oz) Any Flavor Pudding I used Vanilla
1 Cup of Milk
Cake Mix of your choosing, or anything else you want to frost (I made Red Velvet)
2 tablespoons up to 1/3 Cup of Powdered Sugar (Optional, and depends on how sweet you want it, I used about 2 tablespoons)
Food Coloring (Optional)


In Medium size bowl mix 1 cup of milk with the pudding mix, whisk until it gets thick.


Fold in Tub of Cool Whip ( Powdered Sugar,and Food coloring if you chose to add it.)


Make sure its Mixed well...

That's It! Wasn't that easy!?

Frost cake...
If your like us and don't like your cake cold and you have made it for a special occasion, you could always frost it right before serving, it doesn't take long at all! Or if its just for the family frost it as you eat it,like we did.


 Just sweet enough for my sweet tooth!! But not to sweet...


SCRUMPTIOUS!


Comments Welcome!


Saturday, March 3, 2012

Tator Tot Casserole


This is one of those recipes that you just know you are going to love!
Its filling and Oh so Good! 
Its a cheesy-potato comfort food and easy to make, and we all like easy!!
 
A
ll -in-one meals are so nice.
Its a keeper!

**Updated on 3-5-12 
This dish fed 2 of us for 3 nights!! Pretty good deal, if I say so myself! :D


Here is what you need:


* 1 1/2 lbs. of Ground Beef (not pictured because I already cooked it, opps)
* Onion powder to taste (you can use real Onion, but I don't because my husband doesn't like them..its a texture thing. If you use real Onion you would want 1 small Onion chopped small.
* 1 tablespoon of Minced Garlic, or equivalent in fresh. 
* 1 1/2 Cups of frozen Corn, or 1 can of Corn (we like frozen)
* 1 can of  Condensed Cream of Mushroom Soup.
* 2 Cups of Cheddar Cheese
* 1/2 Cup of Milk
* 4 tablespoons of Sour Cream
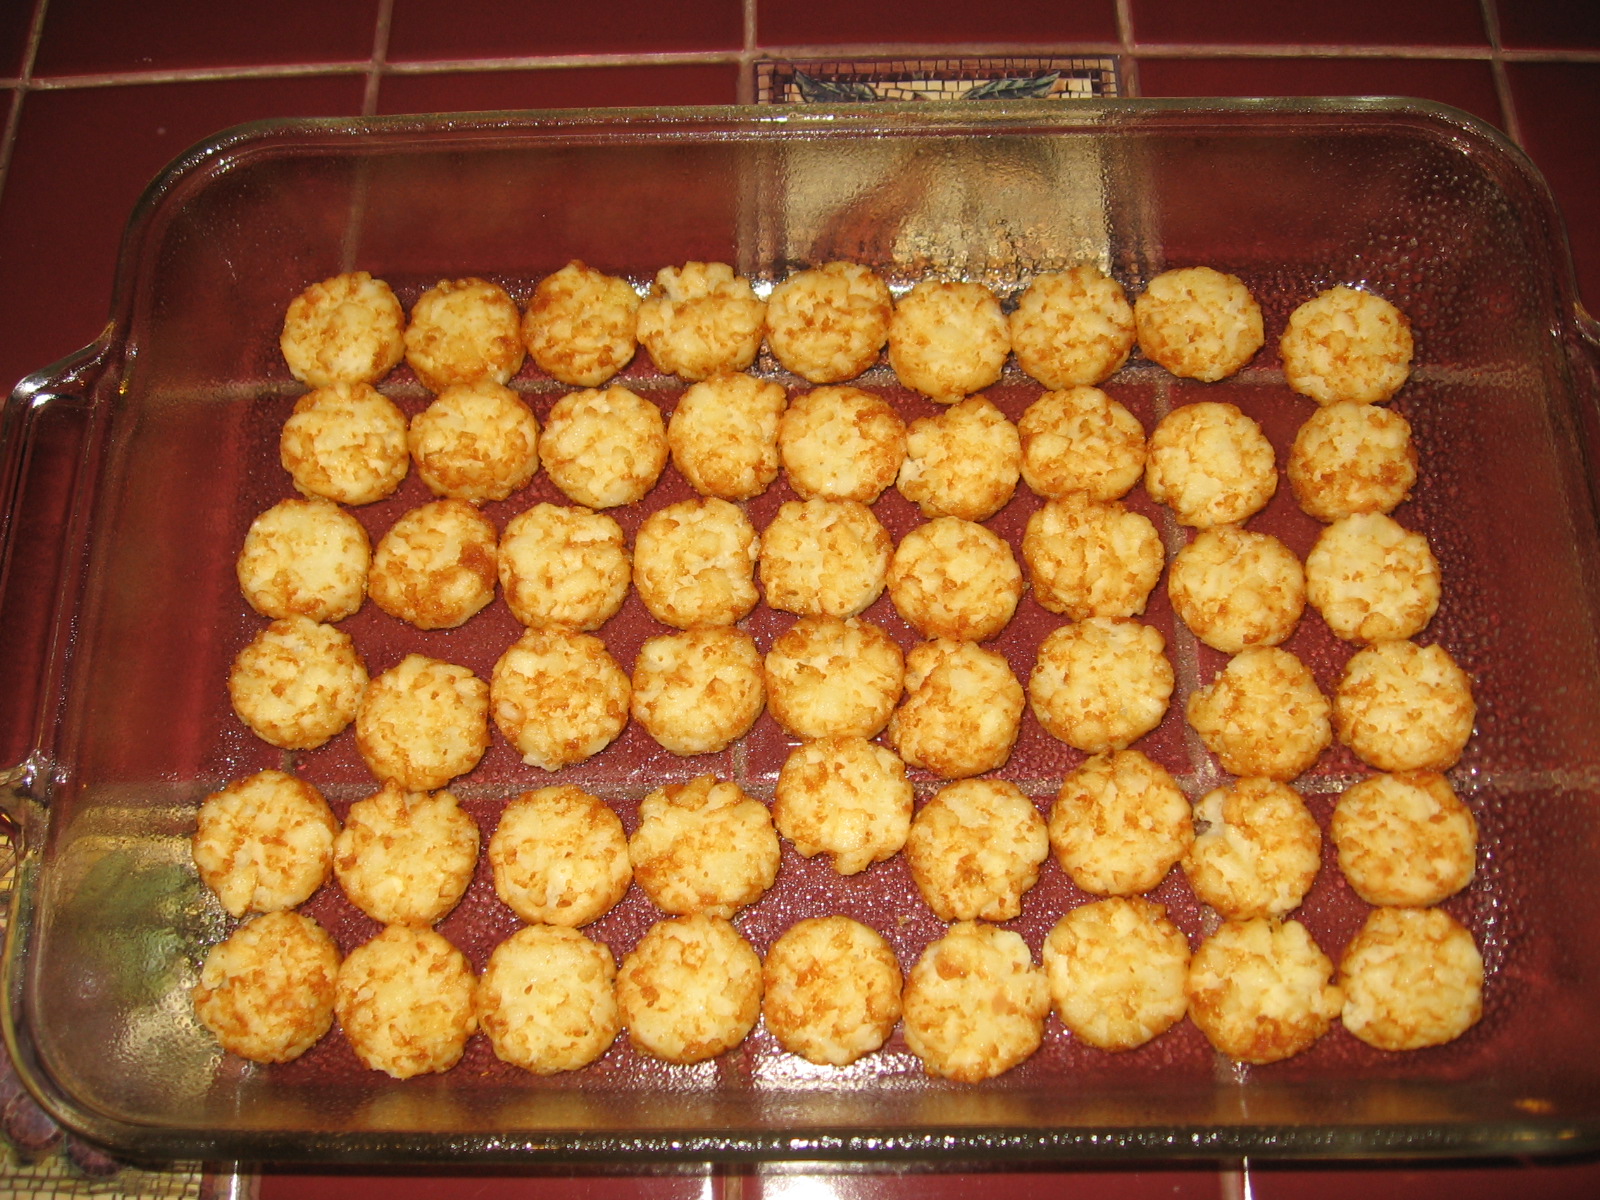
* 1 bag of Ore-Ida Crispy Crowns  Tator Tots (they are the flat-ish ones.)

Set the Ore-Ida Crowns out on the counter to thaw a bit (I put mine on a paper towel)

In skillet, cook Ground Beef, Onion powder (or Onion) and Minced Garlic. When finished cooking, drain and set aside.

In a bowl combine Mushroom soup, Sour Cream, and Milk, stir until well blended...add the Hamburger Mix, 1 Cup of Cheese and the Corn, and gently mix till blended.

Grease a 13x9  Baking Dish  and put a layer of Tater Tots on the bottom, scoop  the meat mixer on top of Tater Tots and smooth it out. Add another layer of Tater Tots, then sprinkle remaining cheese.


Bake at 350 for 35-40 minutes (I like my tater tots crispy,this dish will be done at 25-30 minutes if you don't like yours as crispy) Make sure they are golden brown though :)


Mmmmm!

Pin It

Total Pageviews

Related Posts Plugin for WordPress, Blogger...